01
Make the area safe
If you smell gas now, leave the building without operating lights, appliances, or phones inside; call 911 or your gas utility from outside. After emergency personnel or the utility clears the location, our team reviews what happened and confirms the affected area. We do not ask you to stay near an active odor to troubleshoot.
02
Review symptoms
We ask when the odor occurs, which appliances were running, and whether anyone heard hissing or saw a recent service change. You can point out the suspected room, meter-side piping, or appliance connection from a safe location. This history helps us prioritize likely branches and avoid testing unrelated areas first.
03
Inspect and isolate
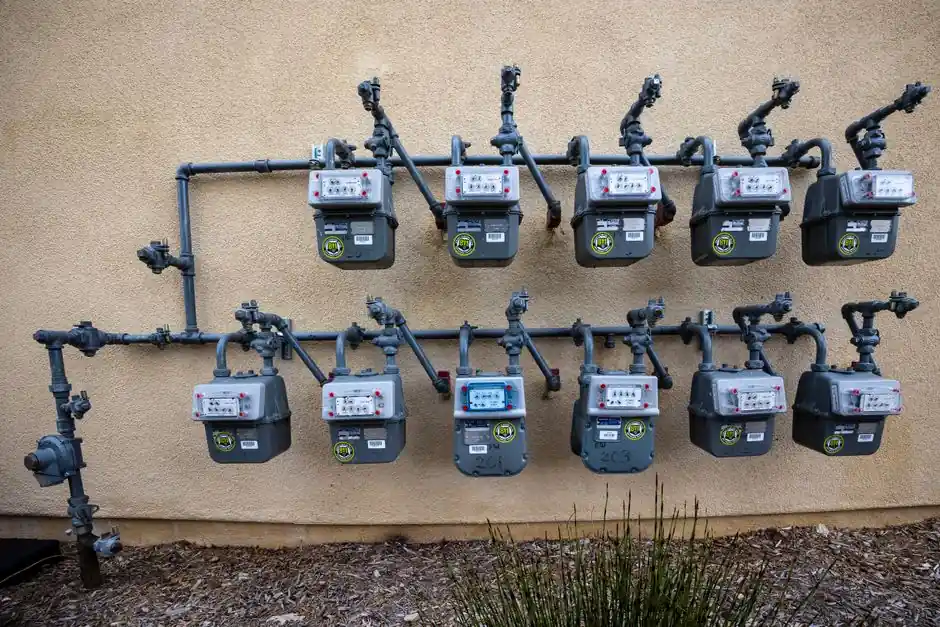
We visually inspect accessible pipe runs, shutoffs, unions, and appliance connectors, then isolate sections as the layout allows. A RIDGID or Milwaukee inspection tool may assist with access or confirmation, while leak detection equipment checks suspect points. A simple accessible system often takes 1 to 2 hours to inspect.
04
Explain the findings
We show you the leak location or explain which section failed testing, then describe repair options and the work involved. An exposed fitting differs from a concealed branch or damaged pipe, so we identify the practical distinction before proceeding. You get upfront pricing for the repair before we start that work.
05
Repair and retest
After you authorize the repair, we replace or correct the affected gas piping component and test the repaired section using the applicable procedure. A pressure gauge supports pressure testing where appropriate; test duration and criteria depend on the system and code requirements. We explain the result and any remaining utility or inspection steps.